From my many years working with wood, I've learned that the finish is not just a protective layer, but a way to truly bring a piece of wood to life. Let me share with you the nuances of different wood finishes, gathered from my extensive experience in the workshop.

Summary of article
Oil Finishes: Linseed, Tung, Danish, Teak oils; suited for softwoods and open-grained woods.
Shellac: Available in various colors; ideal for fine-grained woods like Mahogany and Cherry.
Lacquer: Pre-catalyzed and nitrocellulose types; best for hardwoods such as Maple and Birch.
Water-Based Polyurethane: Offers different sheens; less odor and quick drying; good for light woods like Maple and Cherry.
Oil-Based Polyurethane: Available in various sheens; suitable for Oak and Walnut.
Varnish: Spar varnish used for outdoor projects; UV resistant.
Wax: Beeswax and Carnauba; provides a soft sheen; perfect for fine-pored woods like Cherry and Walnut.
Matching Finishes with Wood Types: Different finishes suitable for softwoods, hardwoods, oily woods, light-colored woods, exotic woods, and reclaimed woods.
Application Techniques: Importance of sanding, cleaning, thinning, layering, drying, and curing.
Safety Measures: Ventilation and protective gear, especially for solvent-based finishes.
Sandpaper Guide: Various grits from coarse to extra fine for different stages of woodworking.
Full Article
Common Wood Finishes
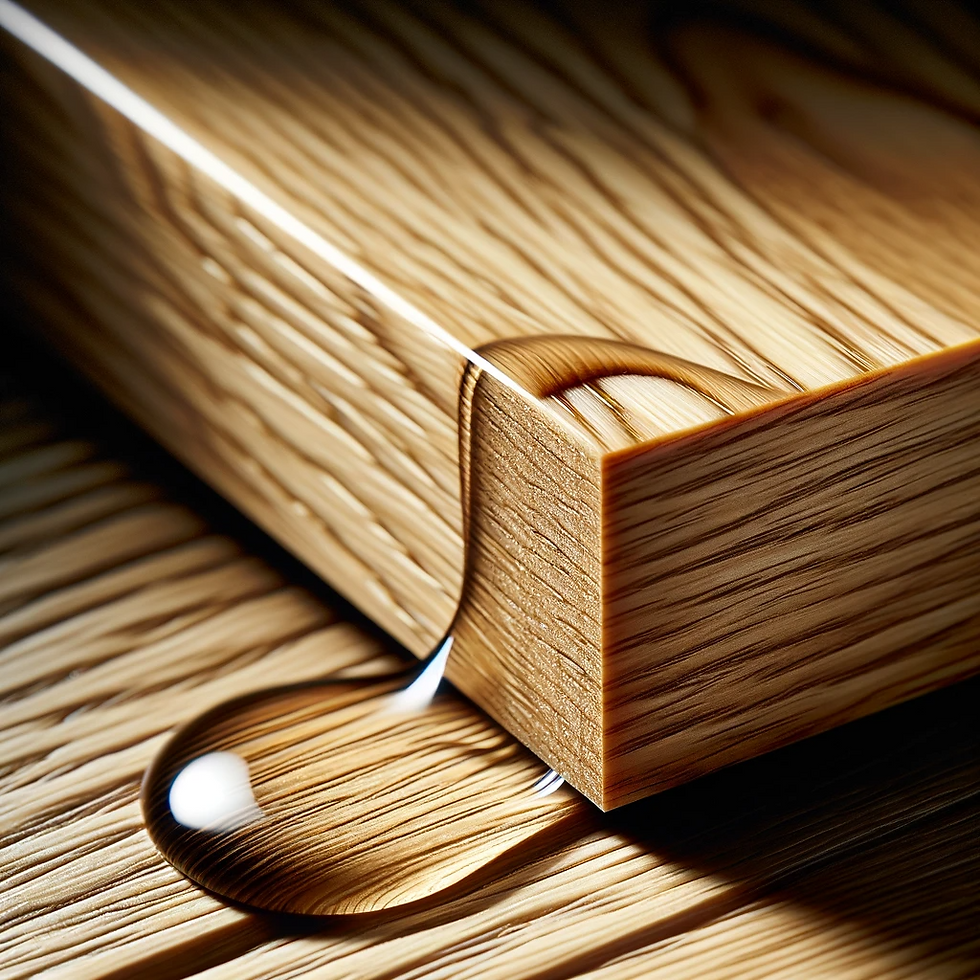
Pictures use oak as a constant in the examples of types of finishes.

Oil Finishes: The Essence of Nature
Varieties: Linseed, Tung, Danish, and Teak oils are my go-tos. Each has its unique properties, with linseed oil providing a robust protective layer, and tung oil offering a more water-resistant finish.
My Approach: Applying these oils is almost therapeutic. I use a clean rag, applying thin, even layers. Sanding lightly with a fine-grit paper between coats ensures a smooth, even absorption. The key is patience, allowing each coat to penetrate and enhance the wood's grain.
Best Suited For: Softwoods like Pine, which can be prone to blotching with heavier finishes, and open-grained woods like Oak, where the oil accentuates the natural grain pattern.

Shellac: A Time-Honored Tradition
Details: I appreciate the versatility of shellac, available in a range of colors from clear to deep amber. It's a natural product, made from lac bug secretions, and has a wonderfully traditional feel to it.
Application Techniques: Brushing or spraying, shellac requires a careful hand. I apply it in thin layers, often sanding lightly between each to achieve a smooth, glass-like finish.
Best For: Woods with fine grains like Mahogany or Cherry, where shellac brings out a depth and richness.

Lacquer: The Professional's Choice
Varieties: My workshop is never without a can of pre-catalyzed or nitrocellulose lacquer. Each type has its benefits, with pre-catalyzed offering a more durable finish and nitrocellulose giving a classic, hand-rubbed look.
My Method: Spraying lacquer is an art. It requires a steady hand and an understanding of how the finish flows and sets. The result is a hard, protective layer with a depth of sheen that enhances the wood's natural beauty.
Best For: Hardwoods like Maple and Birch benefit greatly from lacquer's protective qualities.
Water-Based Polyurethane: The Modern, Eco-Friendly Option
Varieties: From satin to gloss, water-based polyurethane offers a range of finishes. It’s less odorous and dries faster than its oil-based counterpart.
My Application Strategy: Brushing or spraying, I find this finish requires a bit more attention to avoid drips or brush marks. It dries quickly, which is great for moving through multiple coats.
Best Suited For: It works wonders on lighter woods like Maple and Cherry, preserving their natural color without yellowing.

Oil-Based Polyurethane: The Workhorse of Finishes
Types: Available in various sheens, each lending a different character to the wood.
My Technique: Brushing it on in thin, even coats, I give ample time for each layer to dry. This finish requires patience but rewards with a hard, protective layer that deepens and enriches the wood’s color.
Ideal For: Oak and Walnut, where the finish adds depth and warmth.

Varnish: The Guardian of the Outdoors
Types: Spar varnish, with its UV resistance and flexibility, is a staple in my outdoor projects.
Application: I apply it with a quality brush, building up layers and sanding in between for a smooth, durable finish.
Best For: Outdoor woods like Teak and Cedar, protecting them from the elements.

Wax: The Finish that Whispers
Types: Beeswax and Carnauba are my favorites, each offering a soft, natural sheen.
How I Apply It: Applying wax is a tactile experience. I rub it in with a soft cloth, then buff it to a gentle glow. It's not the most protective finish, but it's unparalleled in its natural look and feel.
Perfect For: Fine-pored woods such as Cherry and Walnut, where a subtle, soft sheen is desired.
Matching Finishes to Wood Types: An Art and Science
Softwoods: I’ve found that softwoods absorb oil finishes uniformly, enhancing their natural color without the risk of blotchiness.
Hardwoods: For these, durability is key. Lacquer and polyurethane provide a protective shield against daily wear and tear, preserving the wood's integrity.
Open-Grained Woods: The beauty of these woods lies in their grain. I use grain fillers followed by a finish that complements their natural texture, like an oil-based finish for a rich, deep look.
Oily Woods: These unique woods require finishes that work with their natural oils. I prefer specific oils like teak oil for teak wood, ensuring compatibility and a lasting finish.
Light-Colored Woods: To maintain their pristine appearance, I opt for water-based polyurethane, which doesn’t impart the yellowing effect common with oil-based finishes.
Exotic Woods: Their natural splendor needs a finish that protects without overshadowing. Clear lacquer or water-based finishes are my choice here, as they preserve the wood’s unique patterns and colors.
Reclaimed Woods: Their character is in their age. Penetrating oils and waxes rejuvenate and protect while maintaining their rustic appeal.
Application Techniques: The Key to a Perfect Finish
Preparation: The Foundation of a Great Finish
Sanding: I start with a coarse grit, moving to finer grits, ensuring a smooth, even surface.
Cleaning: Removing all dust and residue is crucial for a flawless finish.
Application: The Art of the Finish
Thinning: Some finishes, like varnish, often benefit from thinning for easier application.
Layering: Thin, even layers are the secret to a professional-looking finish.
Drying and Curing: Patience Pays Off
Timing: Each coat must be given ample time to dry. Rushing this process can ruin an otherwise perfect finish.
Curing: Some finishes, especially oil-based, need time to cure fully. This can take weeks but is essential for durability.
Safety: Non-Negotiable
Ventilation: I always ensure proper ventilation, particularly when working with solvent-based finishes.
Protective Gear: Gloves and masks are a must. Safety in the workshop is paramount.
Bonus Sandpaper Guide
As a woodworker, understanding sandpaper and its various grits is essential for achieving the best finish on your projects. Sandpaper grit refers to the size of the abrasive particles on the paper. The grit number is determined by the number of holes per square inch in the screens used to sieve the abrasive particles. The lower the number, the coarser the grit; the higher the number, the finer the grit.
Types of Sandpaper Grits
Coarse Grit (40-80 grit):
Best Use: Coarse grit sandpaper is ideal for heavy material removal. It's used for stripping old paint or varnish, shaping wood, and smoothing rough surfaces.
Woodworking Application: Great for initial leveling of rough stock and removing deep scratches or dents.
Medium Grit (100-150 grit):
Best Use: This is the most commonly used grit range for general wood preparation. It smooths out the roughness left by coarse grit sandpaper and prepares the wood for finer finishing.
Woodworking Application: Perfect for smoothing out slightly rough surfaces and rounding sharp edges. It's also useful for final shaping of softer woods.
Fine Grit (180-220 grit):
Best Use: Fine grit sandpaper is used for final sanding before the application of stain, oil, or varnish. It smooths out the surface without creating deep scratches.
Woodworking Application: Ideal for finishing touches on wood surfaces and for sanding between coats of paint or finish.
Very Fine Grit (240-320 grit):
Best Use: Used for finishing and polishing wood surfaces. Very fine grit sandpaper helps in achieving a super-smooth surface.
Woodworking Application: Suitable for sanding between coats of finish and for final light sanding before applying a final coat.
Extra Fine Grit (360-600 grit):
Best Use: This range is typically used for final finishing touches, especially in detailed and delicate work. It's also used for polishing.
Woodworking Application: Excellent for final sanding and polishing, especially on more delicate or intricate wood pieces.
Tips for Using Sandpaper in Woodworking
Always Progress Gradually: Start with a coarser grit to remove major imperfections or old finish and work your way up to finer grits. This gradual progression ensures a smooth, uniform surface.
Sand with the Grain: To avoid scratches that are difficult to remove, always sand in the direction of the wood grain, not against it.
Keep It Clean: Clean the surface of the wood between grits to remove any residual dust or debris, which can cause scratches if left on the surface.
Check Your Work: After sanding, especially with finer grits, check your work by wiping the surface with a damp cloth. This will raise the grain and highlight any remaining scratches or imperfections.
Use the Right Tool: For manual sanding, a sanding block can help apply even pressure. For larger surfaces or more intensive sanding, power sanders like orbital sanders or belt sanders can be more efficient.
By understanding and appropriately using different grits of sandpaper, you can significantly enhance the quality and finish of your woodworking projects. Remember, patience and attention to detail during the sanding process will always result in a superior final product.
Personal Insights from the Workshop
Through years of trial and error, I’ve learned that each piece of wood has its own character, and choosing the right finish is about enhancing that character, not masking it. Whether it’s the warmth of oil on oak or the sheen of lacquer on maple, the right finish not only protects the wood but also tells its story.
Wood finishing is a journey of discovery, a process where each step, from preparation to final coat, is a blend of art, science, and a bit of personal magic. My advice to fellow woodworkers is to embrace the process, experiment with different finishes, and always listen to the wood. It has a lot to say if you’re willing to hear it. Happy woodworking!
Comentários